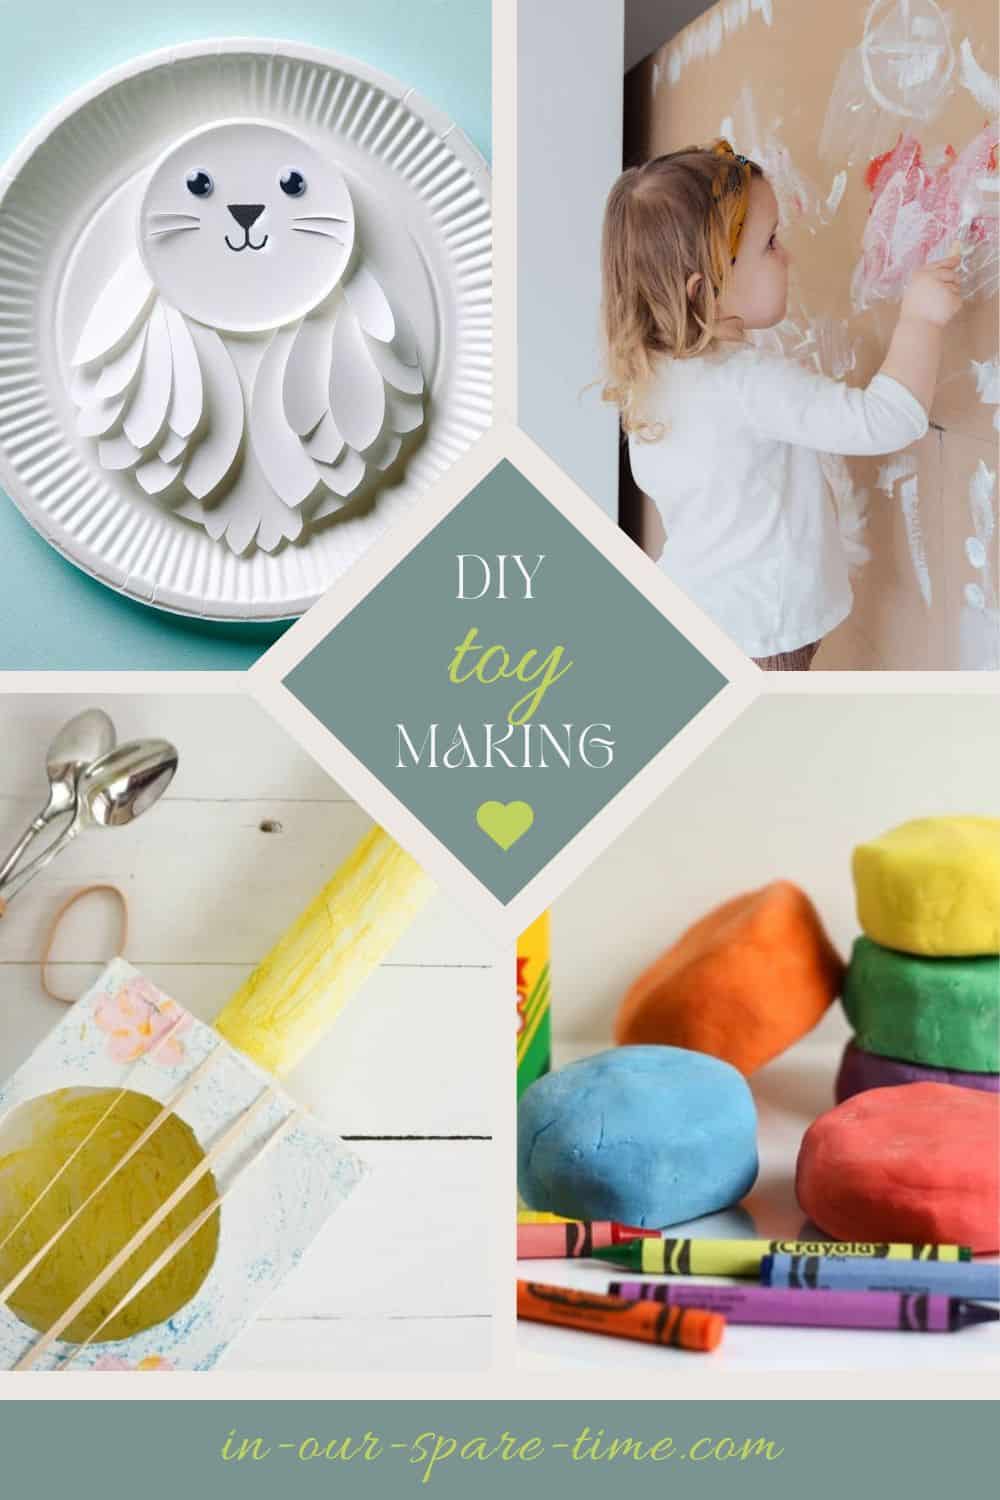
Last Updated on August 3, 2024 by ellen
DIY toy-making not only fosters creativity and imagination but also provides a fun, budget-friendly way to bond with your kids. In a world where screens dominate children’s playtime, it’s refreshing to return to the basics—engaging kids in hands-on, creative activities.
Posts may be sponsored. This post contains affiliate links, which means I will make a commission at no extra cost to you should you click through and make a purchase. As an Amazon Associate I earn from qualifying purchases.
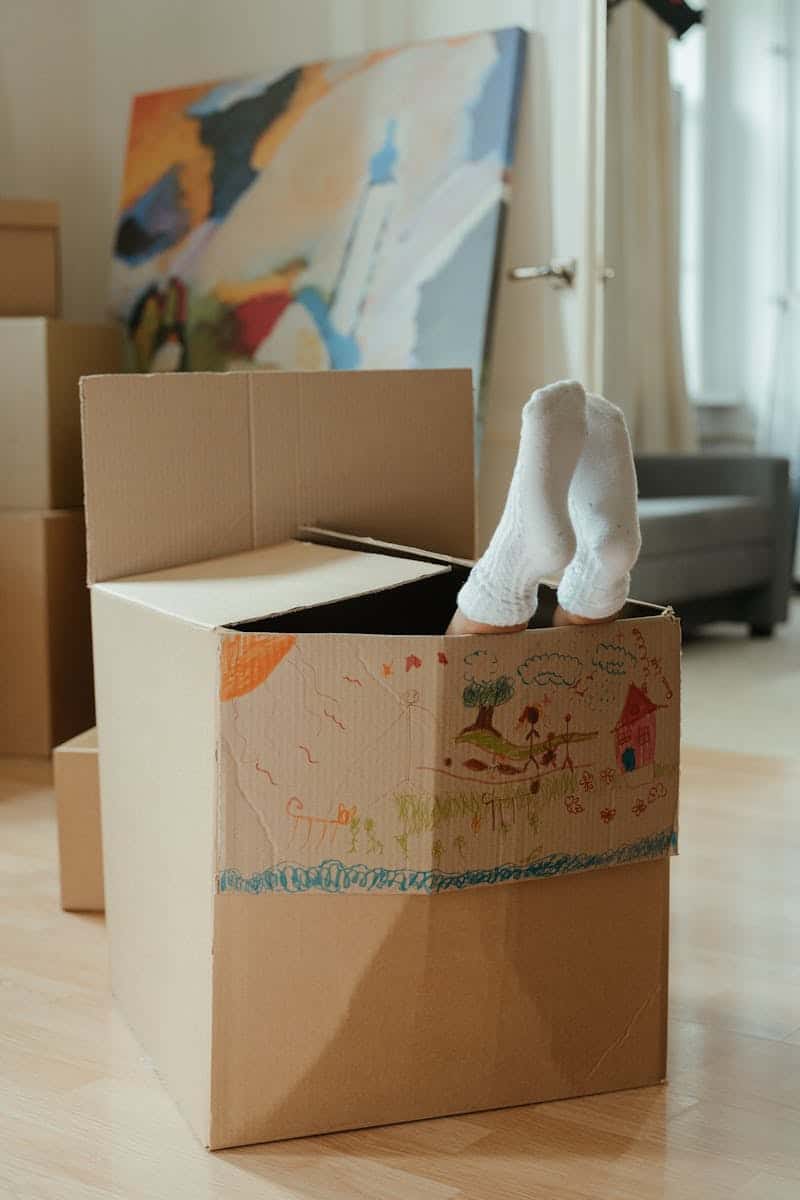
Table of Contents
DIY Toy-Making Ideas
Whether you’re looking to save money, reduce waste, or simply enjoy a rewarding activity, crafting toys at home is a fantastic option. In this article, we’ll explore simple, step-by-step DIY toy-making ideas that you can create using common household items. Let’s get crafting!
Looking for more fun? Check out these printable worksheets or these bookmarks to color.
Why DIY Toy-Making?
Before diving into the projects, let’s talk about why DIY toy-making is beneficial:
1. Encourages Creativity: Making toys from scratch allows children to think creatively, from designing their toy to choosing the materials and colors.
2. Eco-Friendly: Many DIY toys are made from recycled materials, reducing waste and teaching kids the value of upcycling.
3. Budget-Friendly: Crafting toys at home can be a cost-effective alternative to buying new toys, allowing you to save money while having fun.
4. Quality Family Time: DIY projects offer a great opportunity to spend quality time with your kids, fostering stronger family bonds.
Now, let’s get started with some DIY toy-making ideas!
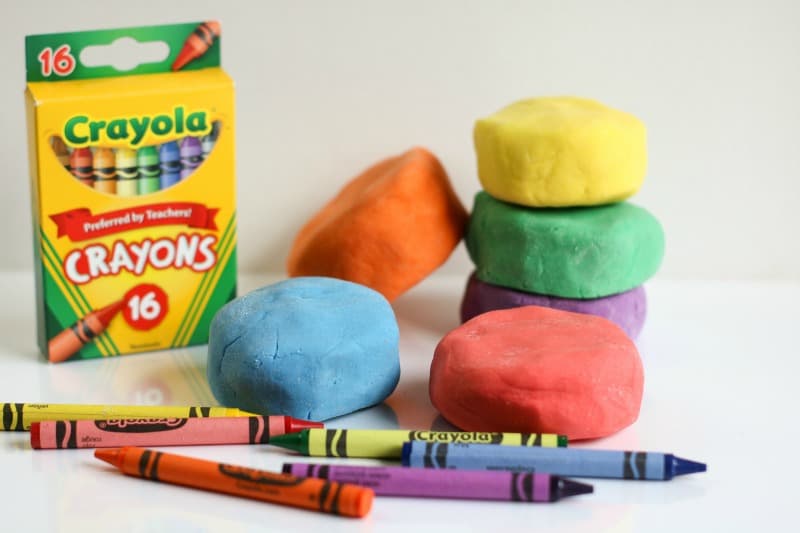
1. Homemade Playdough
Materials Needed:
– 2 cups all-purpose flour
– 1/2 cup salt
– 2 tablespoons cream of tartar
– 2 tablespoons vegetable oil
– 1 to 1.5 cups boiling water
– Food coloring (optional)
– Essential oils (optional, for scent)
Instructions:
1. Mix Dry Ingredients: In a large mixing bowl, combine the flour, salt, and cream of tartar.
2. Add Wet Ingredients: Add the vegetable oil and boiling water to the dry mixture. Stir well until the dough begins to form.
3. Add Color and Scent: If desired, add a few drops of food coloring and essential oil to the dough. Knead the dough until the color is evenly distributed.
4. Knead and Store: Once the dough is smooth and elastic, it’s ready to play with! Store in an airtight container to keep it fresh.
Here’s a favorite colorful playdough recipe.
Why Kids Will Love It:
Playdough is a versatile toy that kids can use to mold, shape, and create endless imaginative worlds. The process of making playdough also engages children in sensory play, helping to develop their fine motor skills.

2. Cardboard Box Forts
Materials Needed:
– Large cardboard boxes
– Scissors or a box cutter (adult supervision required)
– Tape (duct tape or masking tape works well)
– Markers, crayons, or paint for decoration
– Optional: string lights, fabric scraps, stickers
Instructions:
1. Find a Box: Start with a large cardboard box—an appliance box is ideal. Make sure it’s clean and sturdy.
2. Cut Out Openings: Use scissors or a box cutter to cut out doors and windows. You can create a simple rectangular door or get creative with shapes.
3. Assemble and Secure: If using multiple boxes, tape them together to create larger spaces or different rooms. Reinforce corners and seams with tape to ensure stability.
4. Decorate: Let your kids go wild with decorating! They can draw on the walls, paint the exterior, or add stickers. For an extra touch, drape fabric over the fort or hang string lights inside for a cozy atmosphere.
5. Playtime: Once the fort is ready, it’s time to play! Your kids can use the fort as a playhouse, a reading nook, or even a pretend spaceship. There are lots of ways to play with cardboard.
Why Kids Will Love It:
Cardboard box forts offer endless possibilities for imaginative play. Whether it’s a castle, a pirate ship, or a secret hideout, kids love having a space they can call their own.
3. Sock Puppets
Materials Needed:
– Old, clean socks
– Buttons, googly eyes, or felt for eyes
– Yarn for hair
– Fabric glue or needle and thread
– Markers or fabric paint for additional features
– Optional: fabric scraps, ribbons, or other embellishments
Instructions:
1. Select a Sock: Choose an old sock that no longer has a match. Make sure it’s clean and in good condition.
2. Add Eyes: Glue or sew buttons, googly eyes, or felt circles onto the sock to create eyes. Position them near the toe of the sock where your hand will go.
3. Create a Mouth: Use a marker or fabric paint to draw a mouth on the sock. You can also cut out a felt piece and glue it on for a more defined look.
4. Add Hair and Features: Cut pieces of yarn for hair and glue or sew them onto the top of the sock. Use fabric scraps to add clothing, ears, or other features.
5. Play: Slide the sock puppet onto your hand and let the puppet show begin! Encourage your kids to create stories and perform puppet shows.
Why Kids Will Love It:
Sock puppets are a wonderful way for kids to express their creativity and storytelling abilities. They can craft different characters and invent their own puppet shows, which is both entertaining and educational.
This is one of my favorite DIY toy making ideas.
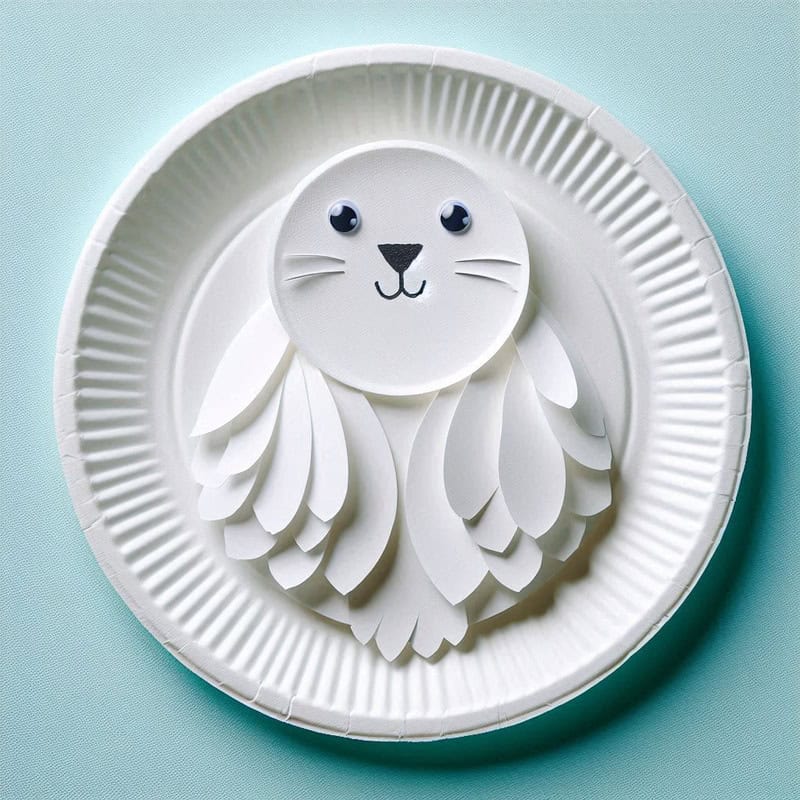
4. Paper Plate Animals
Materials Needed:
– Paper plates
– Paint, markers, or crayons
– Construction paper
– Glue or tape
– Scissors
– Googly eyes (optional)
Instructions:
1. Paint the Plates: Start by painting or coloring the paper plates to match the animal you want to create. For example, paint one plate orange for a tiger or yellow for a lion.
2. Cut Out Features: Use construction paper to cut out ears, tails, and other features. For instance, cut out a mane for a lion or wings for a bird.
3. Assemble the Animal: Glue or tape the features onto the painted paper plate. Add googly eyes or draw on eyes and other details with markers.
4. Add a Handle (Optional): If you want to use the animal as a mask, tape a popsicle stick or a strip of cardboard to the bottom of the plate as a handle.
5. Play: Once the animals are assembled, your kids can use them for role-playing games, storytelling, or as fun decorations for their room.
Why Kids Will Love It:
Paper plate animals are simple to make and can be customized in countless ways. This activity encourages children to learn about different animals while having fun crafting their own unique creatures.
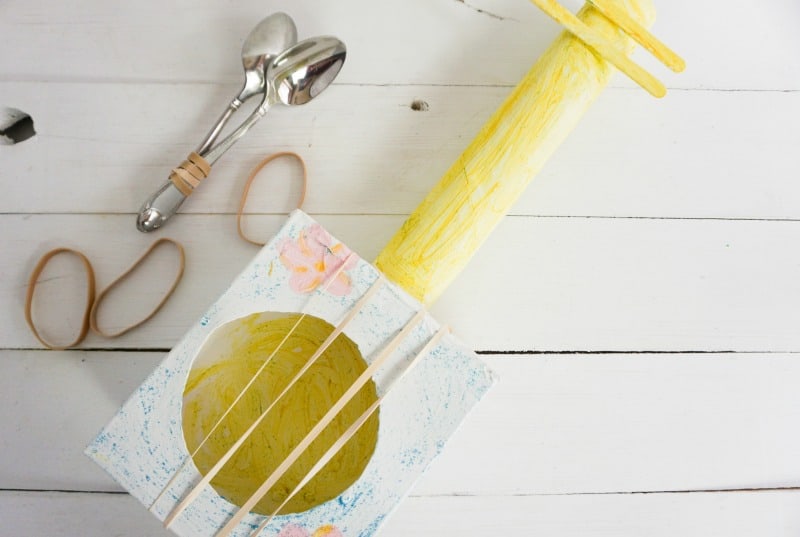
5. Homemade Musical Instruments
Materials Needed:
– Empty containers (like yogurt cups, oatmeal canisters, or tissue boxes)
– Rubber bands
– Rice, beans, or pasta (for filling)
– Tape, glue, and scissors
– Markers or paint for decoration
– Optional: paper towel rolls, bottle caps, bells
Instructions:
1. Make a Drum: Use an empty oatmeal canister or similar container. Cover the opening with a piece of paper or fabric and secure it with a rubber band. Your child can decorate the drum with markers or paint.
2. Create a Shaker: Fill an empty yogurt cup or small container with rice, beans, or pasta. Secure the lid with tape and let your child decorate the outside.
3. Craft a Guitar: Stretch rubber bands over an empty tissue box to create a makeshift guitar. Use markers to decorate the box, and your child can strum the rubber bands to produce sound.
4. Build a Tambourine: Tape or glue bottle caps or small bells around the edge of a sturdy paper plate. Your child can shake the tambourine to make music.
5. Jam Session: Once the instruments are ready, have a family jam session! Your kids can explore different sounds and rhythms, creating their own band.
Why Kids Will Love It:
Making music is a joyful and expressive activity for children. Creating their own instruments allows them to explore different sounds and develop a love for music.
Engage with DIY Toy Making
DIY toy-making is a fantastic way to engage your kids in creative play while teaching valuable skills like problem-solving, resourcefulness, and creativity. These simple projects—homemade playdough, cardboard box forts, sock puppets, paper plate animals, and homemade musical instruments—are just the beginning.
As you explore the world of DIY toys, you’ll discover endless possibilities to keep your little ones entertained, educated, and happy. So, gather your supplies, roll up your sleeves, and start crafting fun memories with your kids today!

Ellen is a mom of a 25-year-old son and 30-year-old daughter. She is Grandma to one adorable toddler. In what little spare time she has, she loves to read, watch movies, and check out the latest toys and games.