Last Updated on November 3, 2023 by ellen
If you’re looking for something to keep the kids occupied, why not let them make Queen Esther puppets! When my kids were younger, we loved reading Bible stories and making crafts to go along with them. And, the story of Queen Esther is one of my favorites.
Posts may be sponsored. This post contains affiliate links, which means I will make a commission at no extra cost to you should you click through and make a purchase. As an Amazon Associate I earn from qualifying purchases.
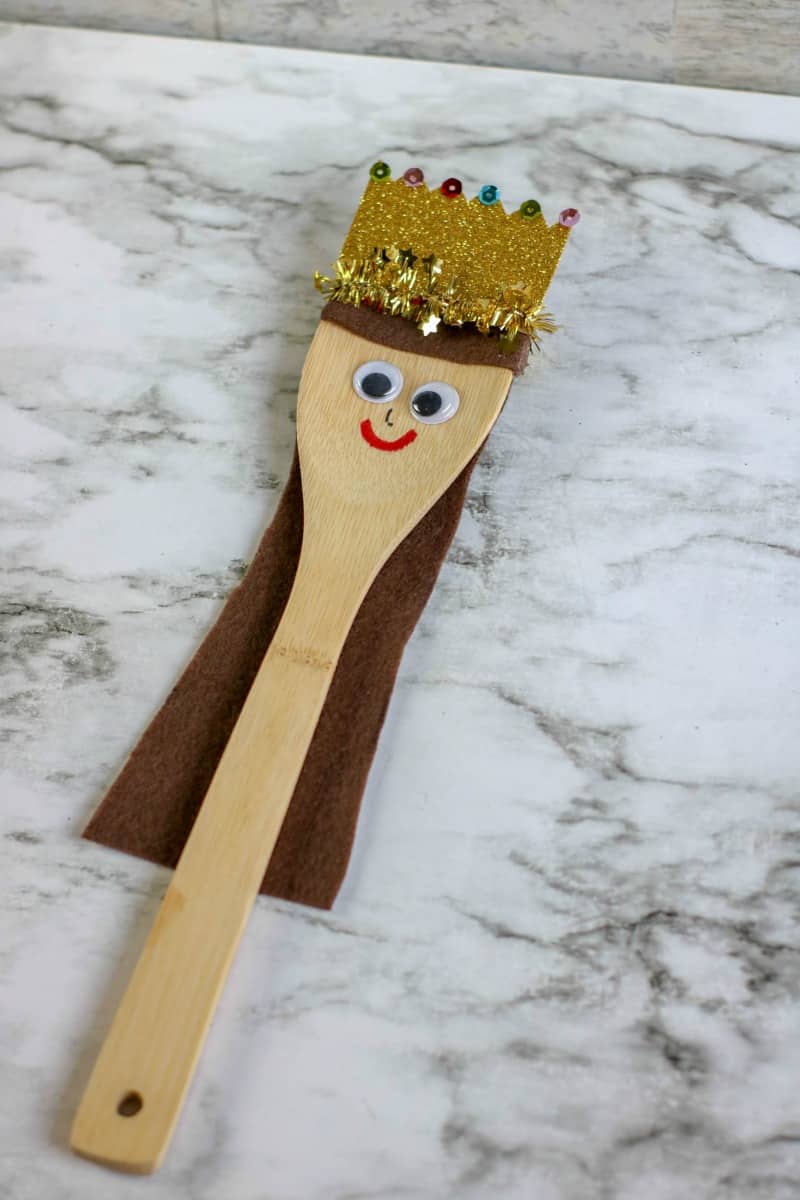
Table of Contents
Queen Esther Puppets
So, if you don’t know the story of Queen Esther, I’ll briefly explain. King Ahasuerus dismissed his first wife after she refused to do what she was told. He sent people out to find a new wife. And, even though she tried to hide, they chose Esther. She was beautiful and charming and modest and hoped to avoid being noticed by the King.
Her cousin Mordechai overheard a plot to kill the King and he told Esther. And, even though Esther was trying to avoid being noticed by the King, she told him about the plot. These Queen Esther puppets will help you explain her story to the kids.
While this was going on, Ahasuerus chooses Haman as prime minister. And, Haman (who hates Jewish people) begins to plot how to kill all of the Jews. Mordechai asks Esther to intercede and help stop Haman. So, Esther requests an audience with the King. This just wasn’t done back then. You didn’t ask to see the King and you definitely didn’t just go see him without an appointment. This was punishable by death so it was a very brave thing for Esther to do.
At the audience, Esther invites the King and Haman to a party and then to a second party. At the party, Esther reveals to the King that she is Jewish. And, the King is so upset that he orders Haman to be killed.
To carry on the Bible theme, your child may enjoy making this baby Jesus craft. This is a sweet way to share the story of His birth with your child.
What is Purim?
But, that’s not the end of the story. The King could not withdraw his ruling to kill all of the Jewish people. But, he made it legal for them to defend themselves against anyone who tried to harm them. There were so many bad people trying to hurt them that Esther requested an extra day for them to make sure all the threats were eliminated.
This extra day is Purim. And, it’s why Esther is such an amazingly strong woman and a wonderful role model. Purim is celebrated every year in late winter/early spring. You can check out the complete story of Esther for more details.
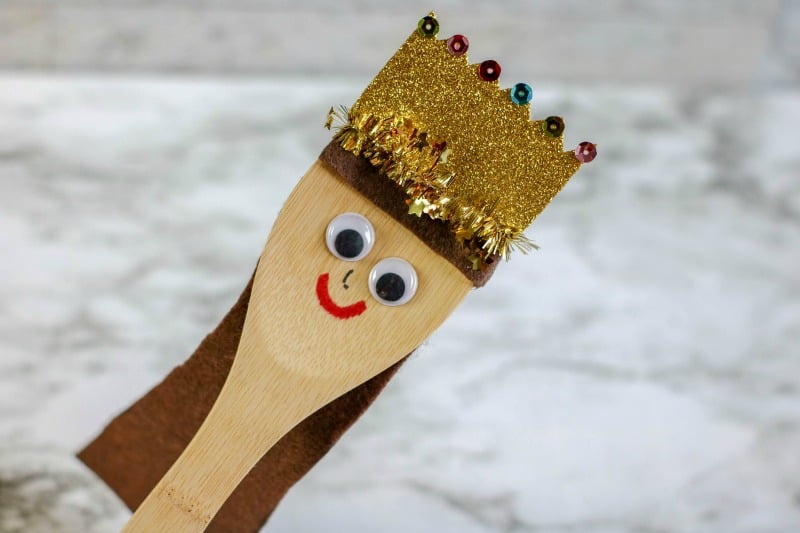
So, even if it isn’t Purim right now, this making Queen Esther puppets is a wonderful way to introduce the kids to Queen Esther and her strength.
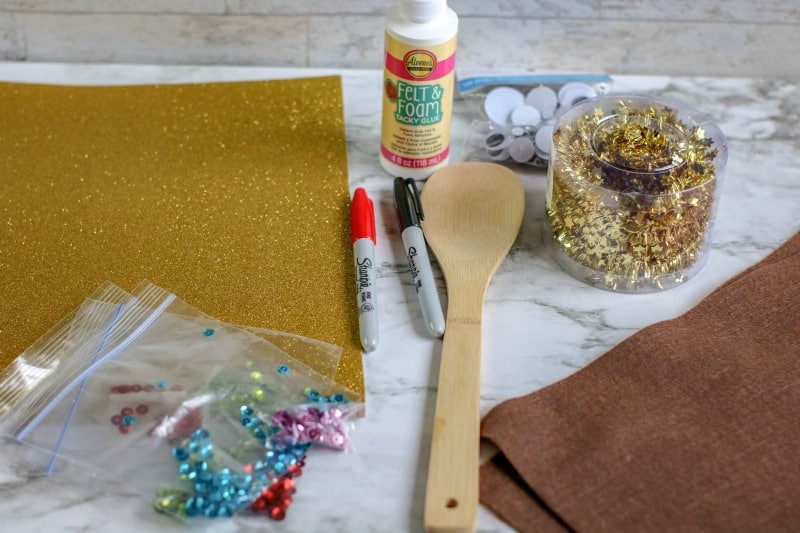
Supplies to make Queen Esther puppets
Wooden spoon
Brown felt
Black marker
Red marker
Wiggly eyes
Gold glitter foam
Sequins or gems
Scissors
Glue
Gold garland or ribbon, optional
Foam and felt glue OR quick drying tacky glue
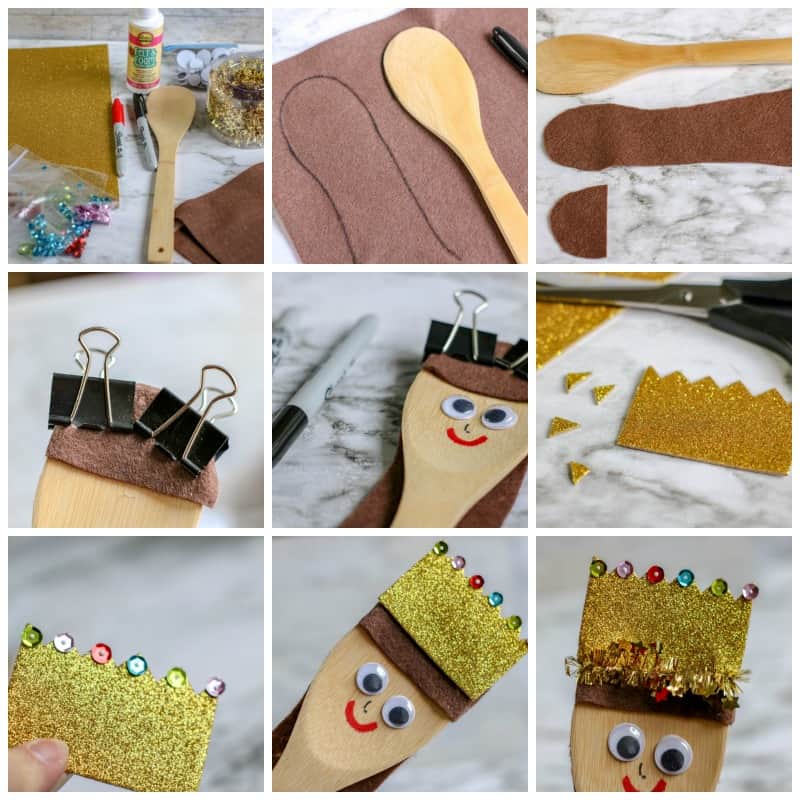
How to make Queen Esther puppets
- Trace the outline of the spoon head onto the felt. Cut one piece from the spoon outline and then with straight lines down to the edge of the felt to resemble long hair. If bangs are desired, cut another piece outlining the spoon head but keeping the length short. Attach the felt to the spoon with glue. Use binder clips if necessary to hold the felt in place as it dries.
- Cut a crown by cutting a rectangle from the gold foam that is the same width as the spoon. Cut small triangles from one long side of the rectangle to create a zig-zag. Glue sequins or gems to the crown as desired. Allow to dry.
- To the spoon, glue the eyes below the bangs. Then, draw a small nose and mouth.
- Attach the crown to the spoon with glue.
- If using garland, wrap around the base of the crown from the middle of the back, across the front of the crown, and back to the middle of the back. Attach with glue.
- Allow the puppet to dry completely before playing or displaying.
You may want to check out this fun Disney Princess Felt Kit.
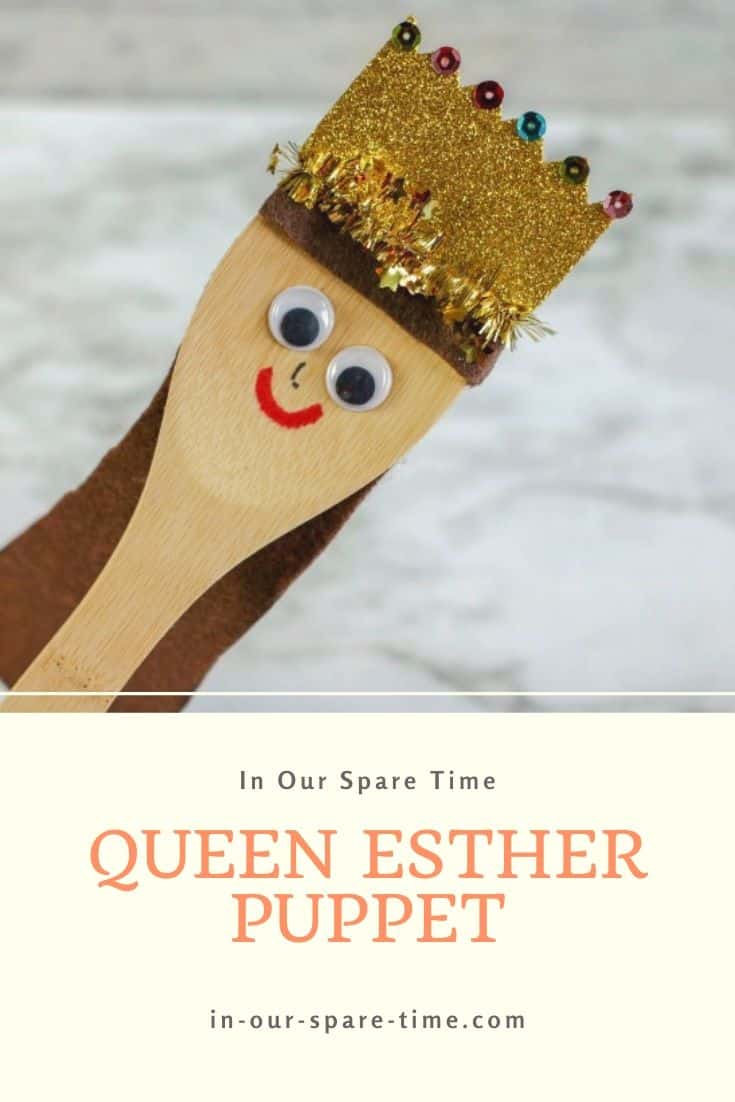
Queen Esther Puppets to Make with the Kids

Queen Esther Puppets to make with the kids
Materials
- Wooden spoon
- Brown felt
- Black marker
- Red marker
- Wiggly eyes
- Gold glitter foam
- Sequins or gems
- Scissors
- Glue
- Gold garland or ribbon, optional
- Foam and felt glue OR quick drying tacky glue
Tools
- scissors
Instructions
- Trace the outline of the spoon head onto the felt. Cut one piece from the spoon outline and then with straight lines down to the edge of the felt to resemble long hair. If bangs are desired, cut another piece outlining the spoon head but keeping the length short. Attach the felt to the spoon with glue. Use binder clips if necessary to hold the felt in place as it dries.
- Cut a crown by cutting a rectangle from the gold foam that is the same width as the spoon. Cut small triangles from one long side of the rectangle to create a zig-zag. Glue sequins or gems to the crown as desired. Allow to dry.
- To the spoon, glue the eyes below the bangs. Then, draw a small nose and mouth.
- Attach the crown to the spoon with glue.
- If using garland, wrap around the base of the crown from the middle of the back, across the front of the crown, and back to the middle of the back. Attach with glue.
- Allow the puppet to dry completely before playing or displaying.

Ellen is a mom of a 25-year-old son and 30-year-old daughter. She is Grandma to one adorable toddler. In what little spare time she has, she loves to read, watch movies, and check out the latest toys and games.