Last Updated on May 18, 2023 by ellen
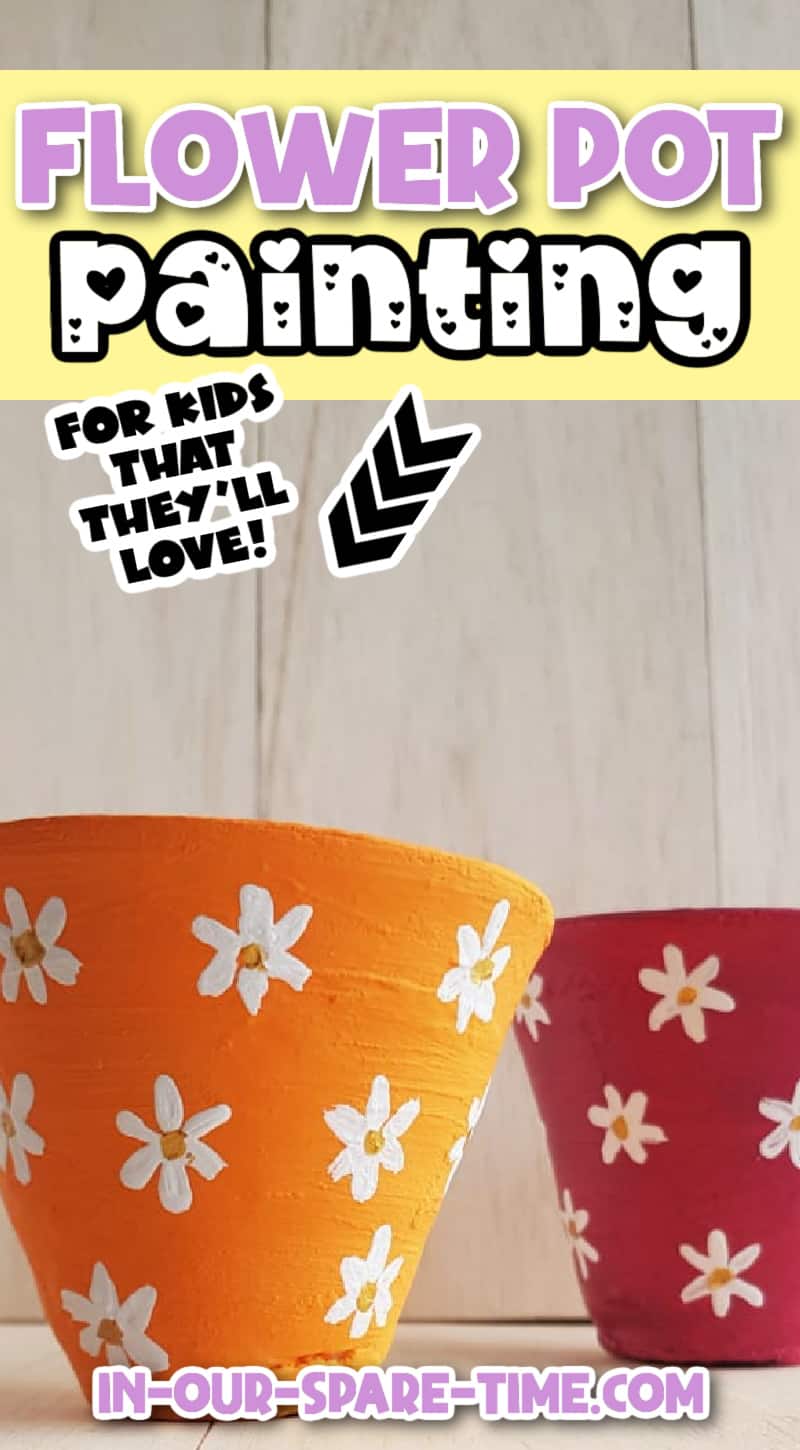
Learn more about flower pot painting for kids. Check out these easy pottery painting ideas to make painted flower pots with your child.
Posts may be sponsored. This post contains affiliate links, which means I will make a commission at no extra cost to you should you click through and make a purchase. As an Amazon Associate I earn from qualifying purchases.
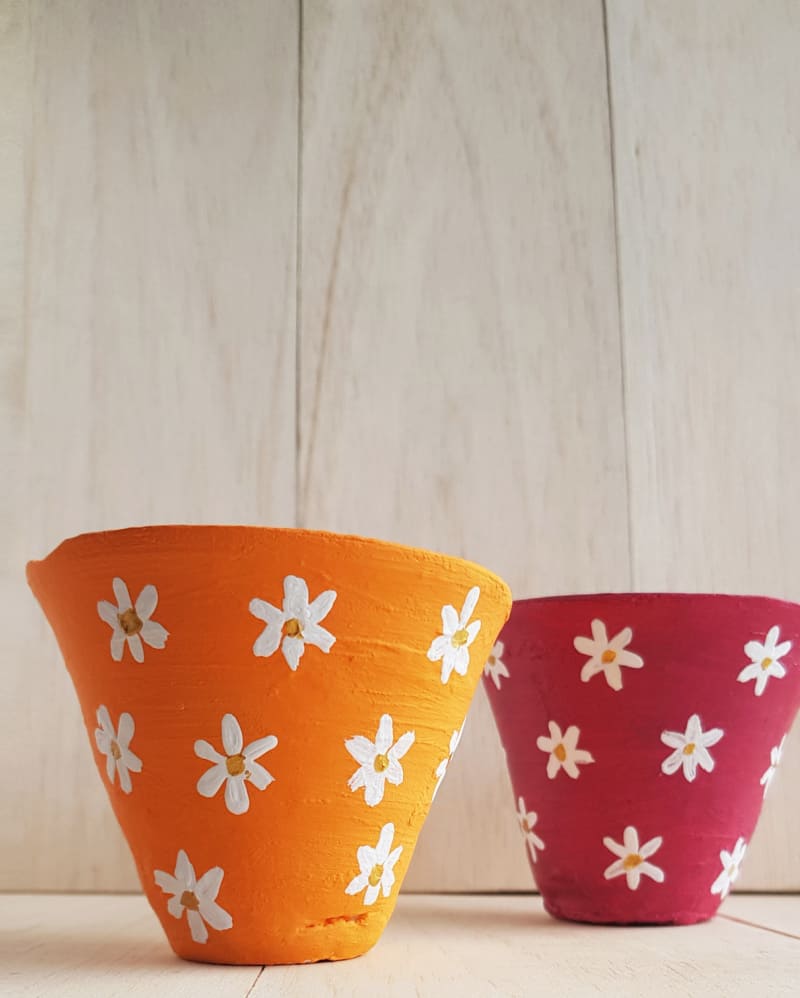
Table of Contents
Flower Pot Painting for Kids
This DIY flower pot is colorful and fun and will brighten up the garden. These pots make a beautiful birthday gift for mothers, teacher appreciation, and even just a handmade gift for any occasion.
There are many fun ideas for handmade gifts that kids can help make. I love these clay pots because they are so versatile.
Check out Green Kids Crafts for lots of fun projects if your kids enjoy craft projects.
You can give this gift for:
- Teacher appreciation gift
- Mother’s Day
- Teacher gifts for holidays
- Birthdays
- Christmas
The pot design is very simple for kids to make alone or with help from mom and dad. Let your creative juices flow and make it today.
If painting clay pots with toddlers, please make sure you protect the area with newspaper and have them wear old clothes. At this age, it’s more about having fun.
What kind of paint do you use on flower pots?
You can use any kind of paint on hand, but I recommend using outdoor or acrylic paint. If you are using regular craft paint, seal the pot with a clear polymer varnish to protect it from the elements.
What type of flower pots do I use?
If you want to make painted plant pots, you need to get a terra cotta pot. Any type of clay pots would be good for these pottery painting ideas.
Plastic pots won’t work well because the paint won’t adhere to the pot.
When you buy flower pots, keep in mind the type of plant you will place in them. This is a fun project for kids to do. So, look for small terracotta pots that they can handle.
You can find all sorts of terra cotta pots at your local garden center in the spring. Take the kids and let them pick out a few with some potting soil and plants or seeds.
Paint colors for terra cotta pots
if you are putting the clay pots outside, avoid dark colors. Dark colors will heat up more quickly than light colors.
This can be bad for your flowers, and you will need to water them more often as the soil dries out. I choose bright colors when painting pots.
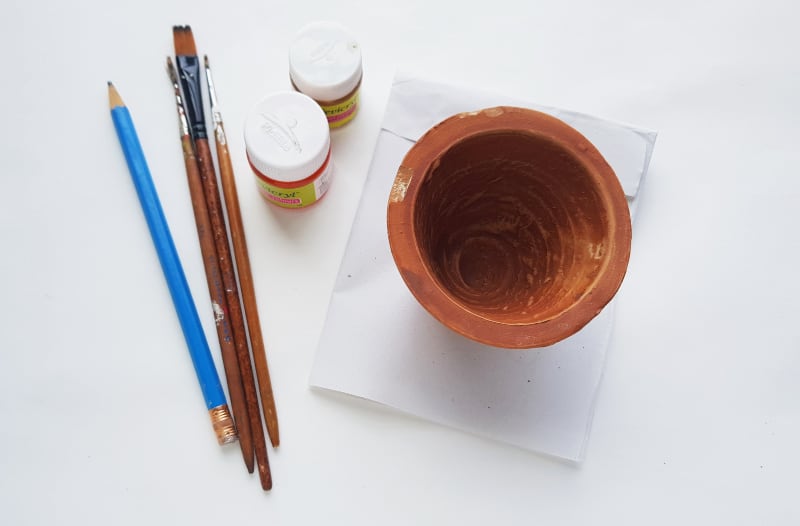
Supplies to make painted flower pots
- Wax paper
- Paint (I like acrylic)
- Clay pot or terra cotta pot
- Pencil
- Paintbrush sizes 1, 3, 8
Be sure that the flower pots you buy have drainage holes in them. The flower must have well-drained soil to be healthy.
if you want to put something else in the painted flower pots like baked goods or cute stationery supplies, this is not important.
Can I use spray paint to paint flower pots?
I’m not a big fan of spray paint. It tends to make a huge mess all over the grass, and it leaches toxic chemicals into the soil. But, if you want to make many plant pots for a craft fair, it will save time.
If you do, place the terracotta pots on an old white sheet to protect the ground from the spray paint.

How to make painted flower pots
Before you start, protect your work area. I like to cover it with wax paper, but an old sheet will work.
Step -1:
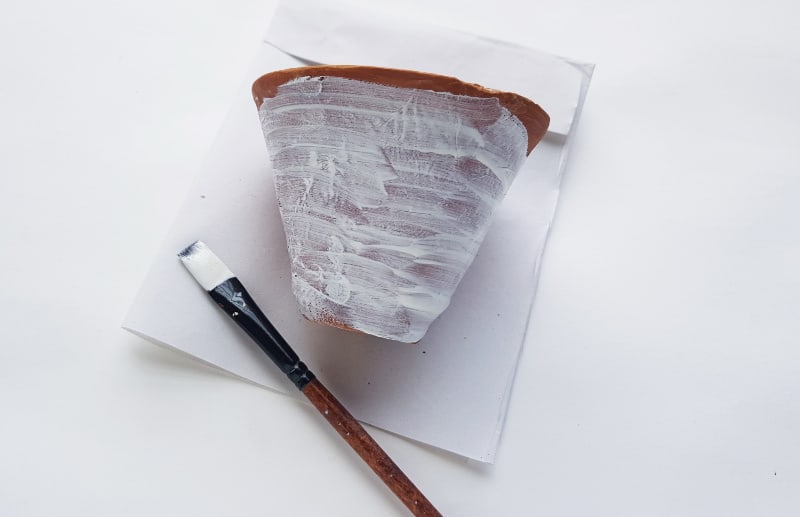
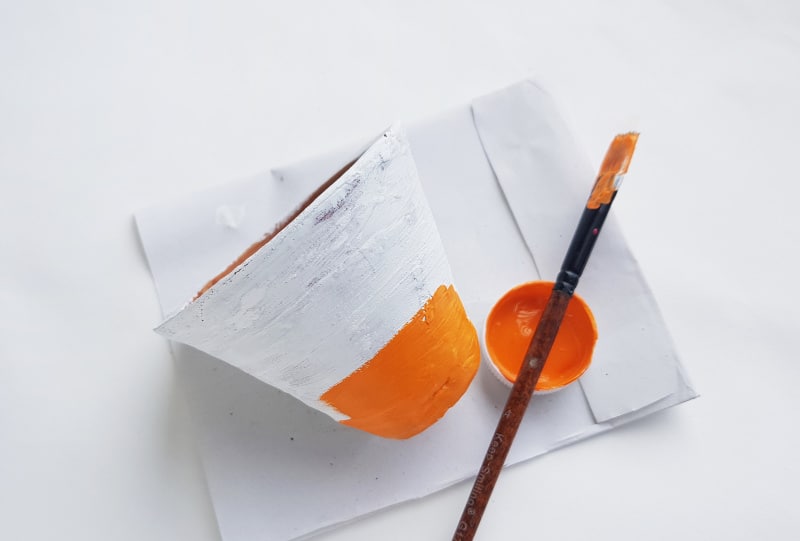
Select a clay pot and clean its outer surface nicely. Prepare white acrylic paint, ensuring it’s not too thick or too thin. Place a paper or newspaper on your workspace to keep it safe from paint. Use a size 8 paintbrush to apply a coat of white acrylic paint to the outer surface of the clay pot. Allow the first white paint coat to dry entirely.
Step -2:
After the first white paint coat dries, apply the 2nd coat. Allow the 2nd coat to dry entirely again. The white paint is the base coat of the clay pot painting project.
Step – 3:
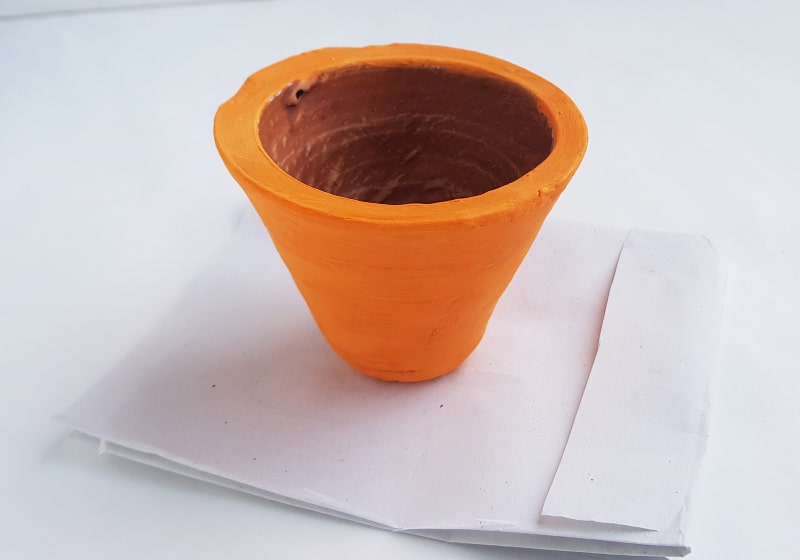
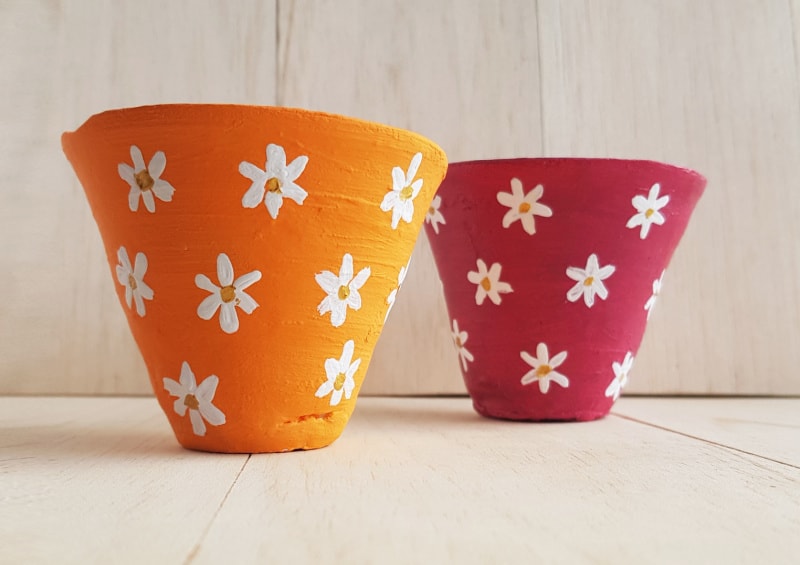
Now, select and prepare the final acrylic paint you’d like to apply to the clay pot; I selected orange acrylic paint. Apply the paint from either the top side or the bottom side of the clay pot. Use a size 8 paintbrush to apply this coat of paint.
Step – 4:
If necessary, apply a 2nd coat of the selected paint and let flower pots dry before proceeding to the next step.
Step – 5:
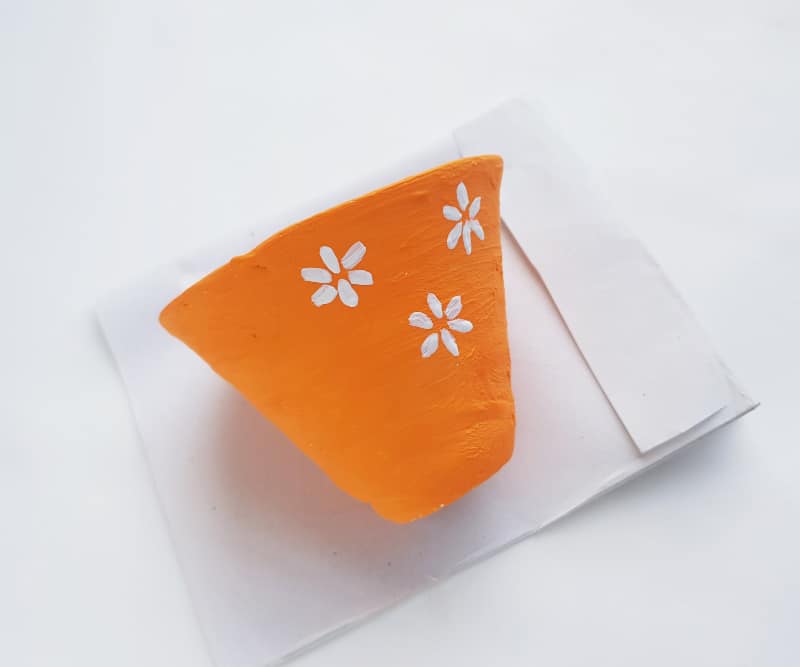
This pot has white daisies, but you can paint any flower. To paint the flowers, use a size 2 paintbrush. Simply work 1 stroke for each petal and paint a flower with 6 petals.
Step – 6:
Use a pencil to mark the positions of each flower if you’re having difficulty deciding where to place the next flower.
Step – 7:
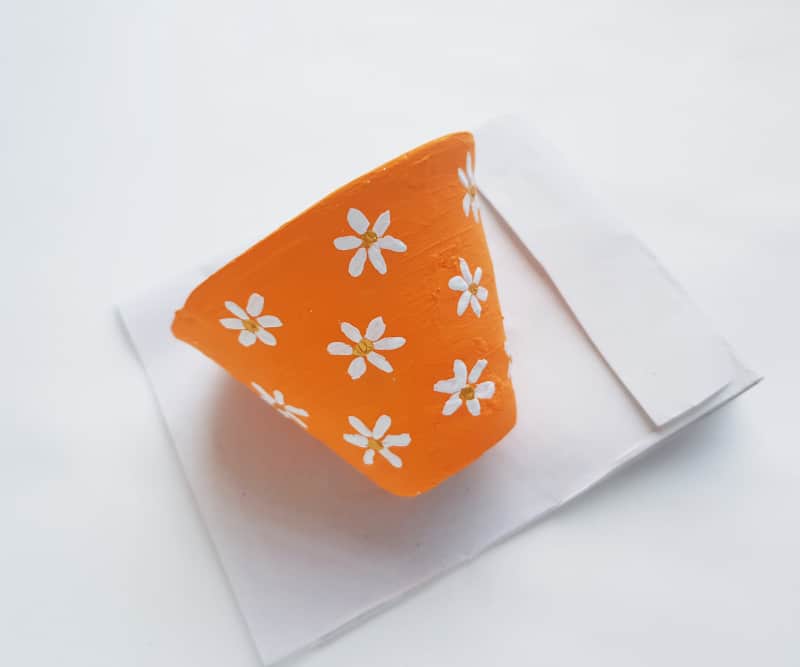
Use a size 1 paintbrush to paint the center of each flower. Allow the paint to dry completely before using the painted clay pot.
Step – 8:
Use different colored acrylic paints for the pot or create different kinds of flowers for variation.
What to plant in your painted flower pots
Now that you are finished painting, you can plant any type of plant you like in your painted flower pots. Flowers are the most popular choice, but herbs would also work well.
Be sure to water and care for your plants regularly, ensuring that they get plenty of sunlight and nutrients from the soil. The kids will be rewarded with beautiful blooms.
Check out Green Kids Crafts for lots of fun projects if your kids enjoy craft projects.
Planting tips
It’s important to choose plants that are appropriate for the size of the pot. Avoid planting large plants in small pots as they become rootbound and struggle to grow.
It’s also important to choose plants that will thrive in the climate and conditions of your garden, so do some research or consult an expert before choosing your plants.
And finally, be sure to plant seeds at the proper depth and spacing for optimal growth. Good luck!
This is a super easy way for kids to make painted flower pots. So, for more ideas for the kids, check out these crafts.
- Flower rock painting
- Fairy garden pots
- Decoupage flower pot
- Rock painting designs
- Painted rocks ideas
Flower Pot Painting for Kids

Learn more about flower pot painting for kids. Check out this easy tutorial to make painted flower pots with your child.
Materials
- Clay pot
- Acrylic paint
- Pencil
Tools
- Paint brush – size 1, 3 and 8
Instructions
- Select a clay pot and clean its outer surface nicely. Prepare white acrylic paint, ensuring it’s not too thick or too thin. Place a paper or newspaper on your workspace to keep it safe from paint. Use a size 8 paintbrush to apply a coat of white acrylic paint to the outer surface of the clay pot. Allow the first white paint coat to dry entirely.
- After the first white paint coat dries, apply the 2nd coat. Allow the 2nd coat to dry entirely again. The white paint is the base coat of the clay pot painting project.
- Now, select and prepare the final acrylic paint you’d like to apply to the clay pot; we selected orange acrylic paint. Apply the paint from either the top side or the bottom side of the clay pot. Use a size 8 paintbrush to apply this coat of paint.
- If necessary, apply a 2nd coat of the selected paint and then allow the coat to dry before proceeding to the next step.
- We’re painting white daisies on the clay pot, but you can paint any flower. To paint the flowers, we’re using a size 2 paintbrush. Simply work one stroke for each petal and paint a flower with six petals.
- Use a pencil to mark the positions of each flower if you’re having difficulty deciding where to paint every next flower.
- Use a size 1 paintbrush to paint the center of each flower. Allow the paint to dry completely before using the painted clay pot.
- Use different colored acrylic paints for the pot or paint different kinds of flowers for variation.

Welcome to In Our Spare Time, your go-to source for family-friendly fun. Discover honest reviews, entertaining articles, and fresh ideas for making the most of your free time with younger kids. From games, movies, and books to family activities and seasonal adventures, we help parents find simple ways to create memorable moments together.