Last Updated on April 21, 2023 by ellen
Hammered flower art is a fun way to press fresh flowers with the kids. Let them have fun with flower pounding today.
Posts may be sponsored. This post contains affiliate links, which means I will make a commission at no extra cost to you should you click through and make a purchase. As an Amazon Associate I earn from qualifying purchases.
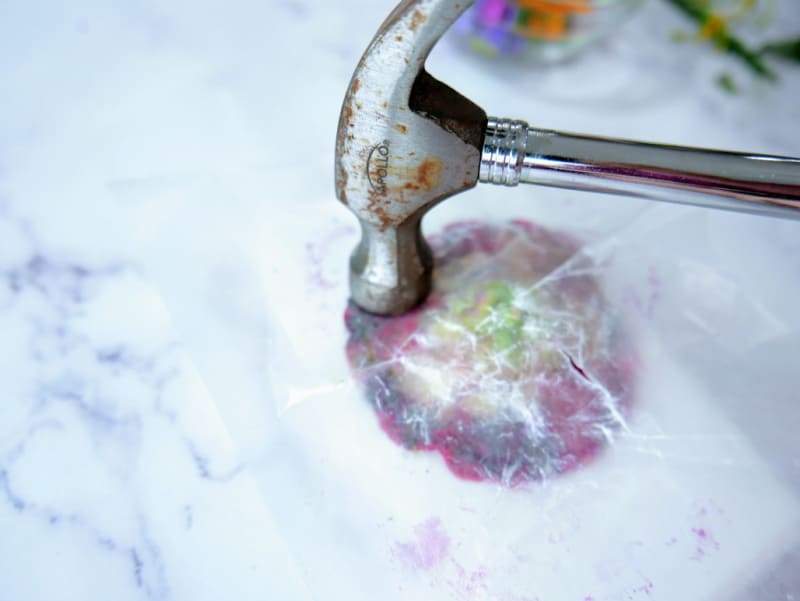
Table of Contents
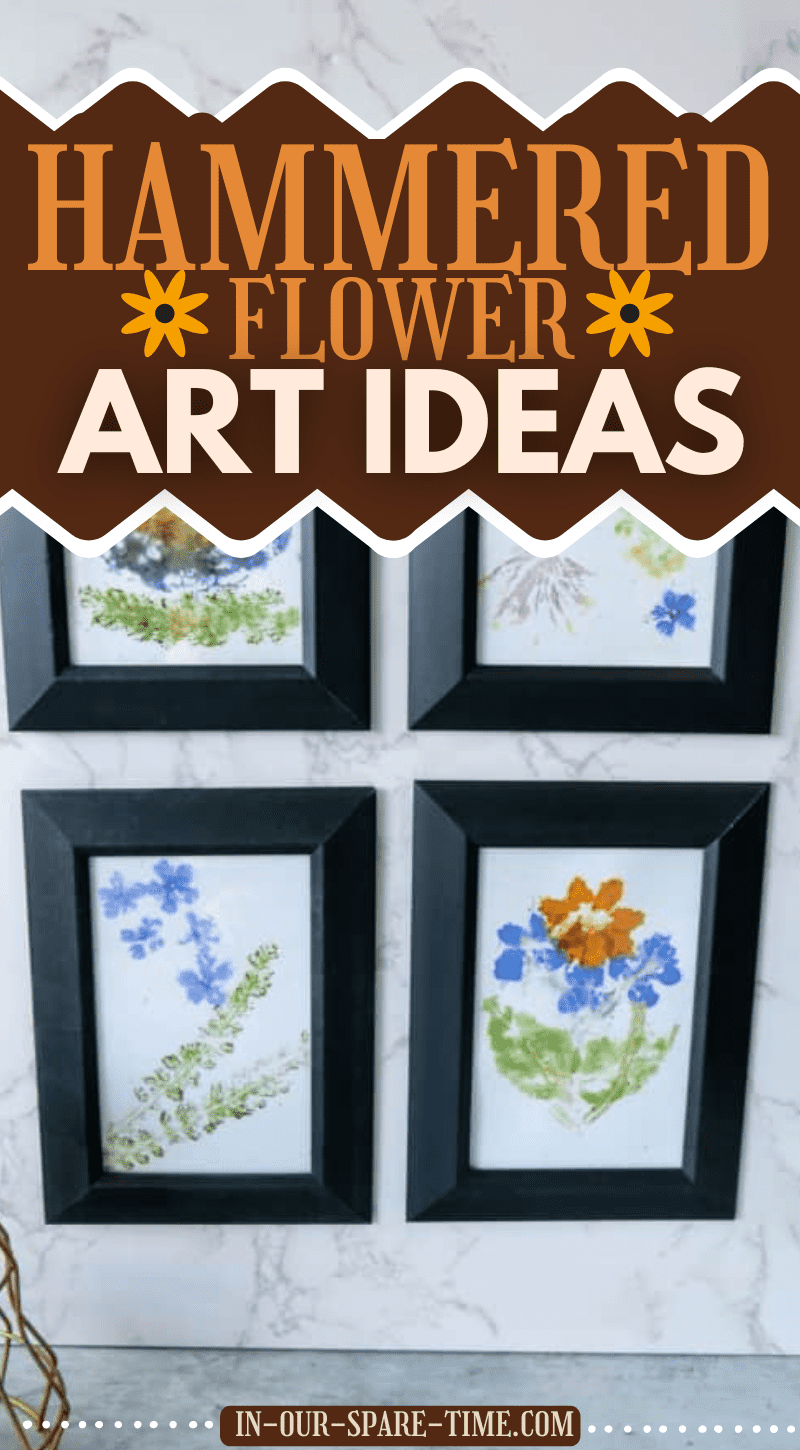
Hammered Flower Art
Flower pounding is a simple technique to transfer the vibrant colors from fresh flowers to make a flower print. It’s an easy nature craft for older kids and adults.
What is flower pounding?
Pounding flowers is a process where you place fresh flowers between two pieces of paper and then gently pound the flowers with a hammer until the color from the flower petals starts to transfer onto the paper.
This is a fun nature craft for kids because they can use a hammer! Just make sure to supervise younger children as they pound the flowers.

Best colorful flowers for flower pounding
The best flowers for flower pounding are brightly colored flowers with thin petals. Some of our favorites are:
- Geraniums
- Hibiscus
- Pansies
- Petunias
- Roses
These colorful flowers leave behind vibrant natural dyes as a flower print on the paper. You can frame these prints and use them as home decor. Or, give it as a gift.
Can I use dried flowers for flower pounding?
No, you’ll want to use fresh flowers for this nature craft. Dried flowers will not work as they won’t transfer color to the paper.
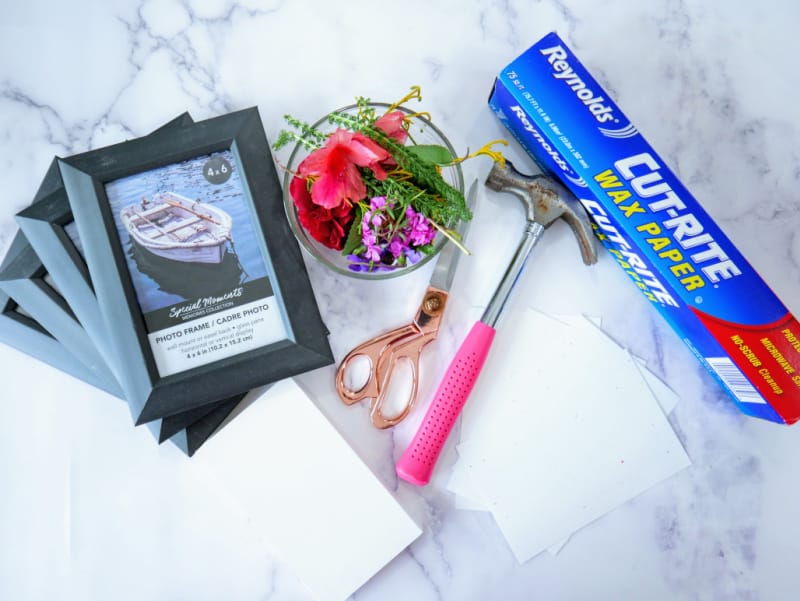
Flower pounding materials
- Various flowers and greenery
- Scissors
- White cardstock, cut into (4) 4×6 pieces
- Scrap wood
- Hammer
- Wax paper
- (4) 4×6 photo frames
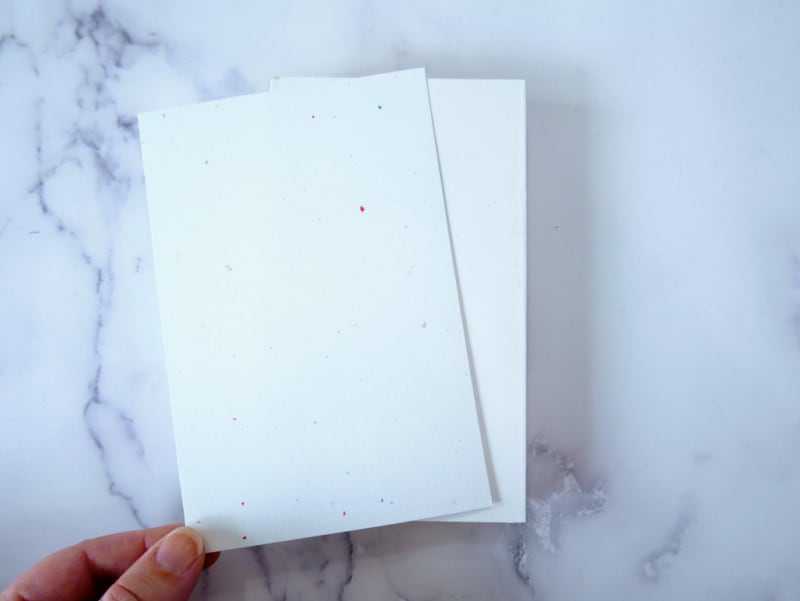
Can I use watercolor paper?
You can also use watercolor paper if you do not have white cardstock paper. The flower prints won’t be as thick, but they will still be beautiful.
Choose a larger piece of card stock if you want to create a collection of flowers. You can add a leaf or two among the petals.
How to pick fresh flowers for flower pounding
The best time to pick fresh flowers for this nature craft is early morning after the dew has evaporated. You’ll want to avoid using wilted flowers as they will not transfer color.
How to make a flower print by hammering flowers
Now that you’ve gathered your materials, it’s time to get started on this fun nature craft. Here’s how to make hammered flower art:
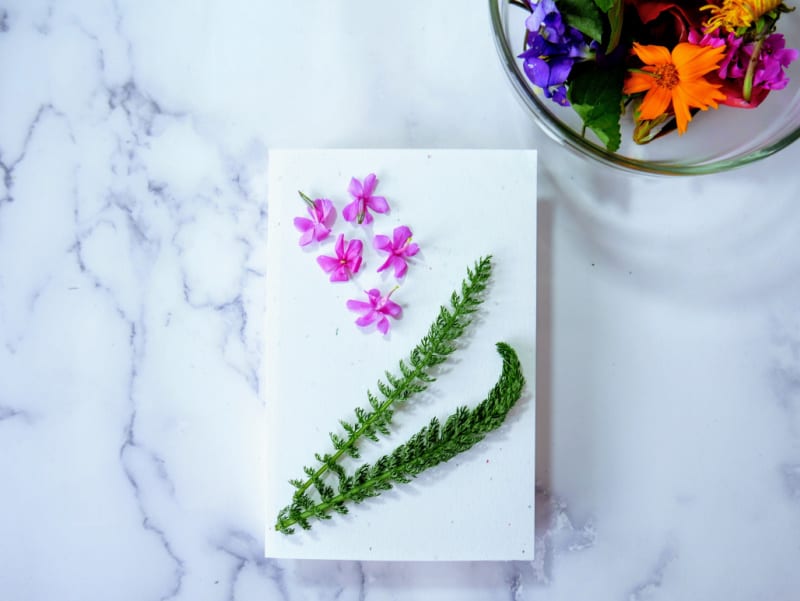
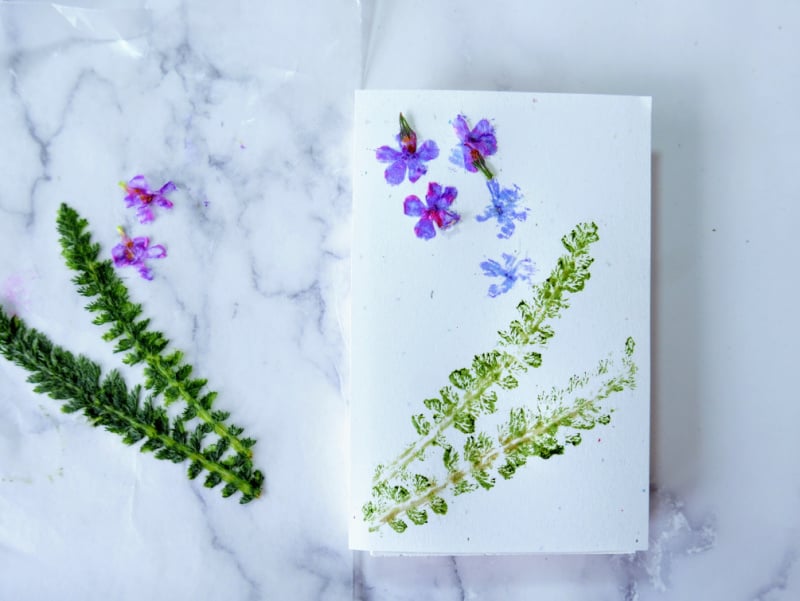
- Gather multiple flowers from the garden in varying colors and sizes, as well as leaves, grasses, and other soft plants. Leaves that are waxy and hard won’t leave a flower print. Yarrow and ferns make great greenery impressions.
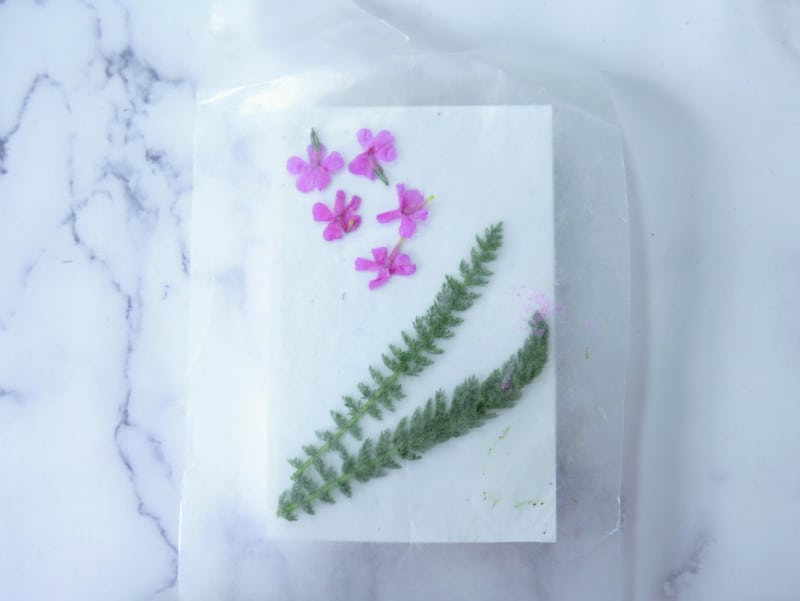
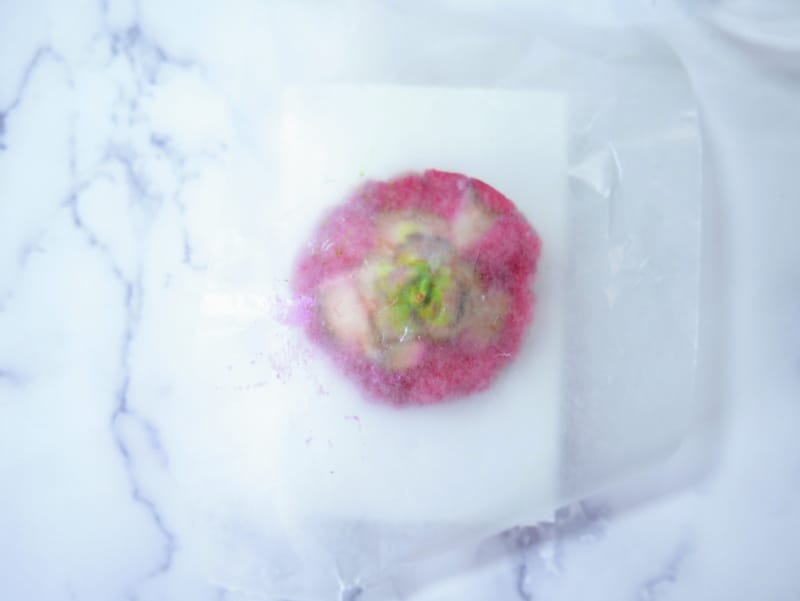
- Start with a scrap piece of cardstock, and place the paper on top of the scrap piece of wood or another hard surface. Place some flowers or fern leaves onto the paper, face down, and then cover with wax paper.
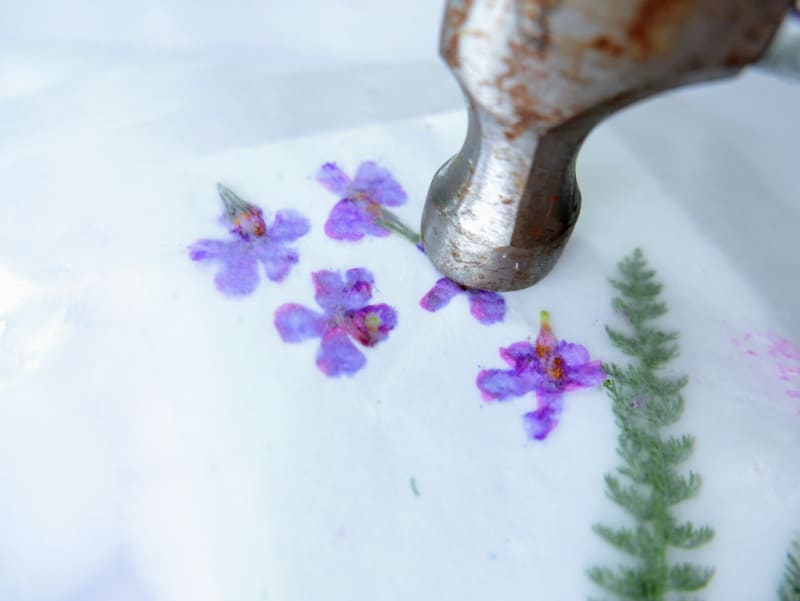
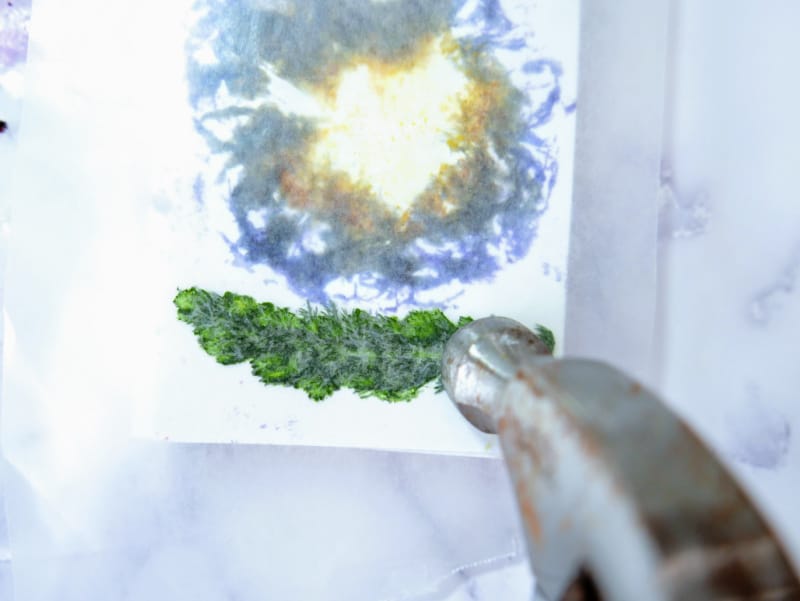
- Holding the wax paper in place, begin hammering each flower and piece of grass lightly.
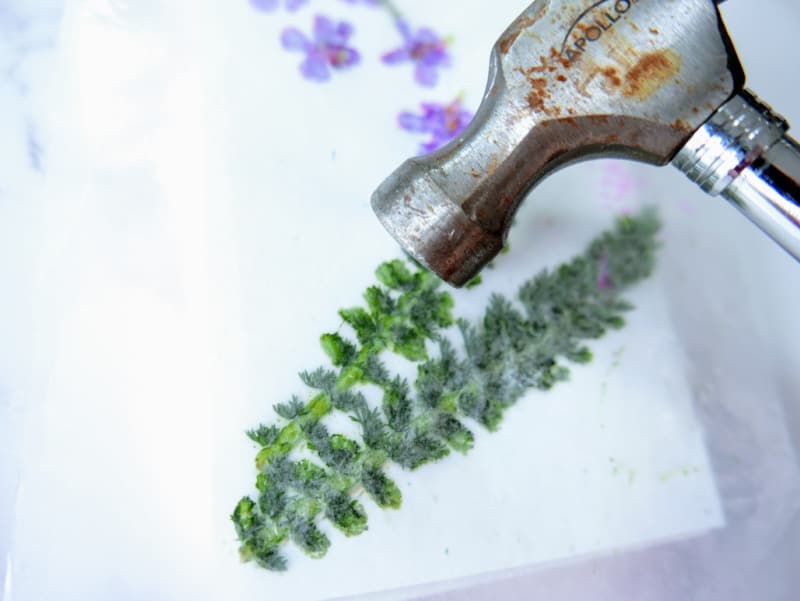
- Carefully remove the wax paper.
- The flowers will mostly adhere to the wax paper, but if any parts remain, gently scrape or brush them away. Doing a test will show you which flowers leave an impression. Several flowers I tested were vibrant, which I thought would leave a perfect image, and I was shocked when they left little to no color.
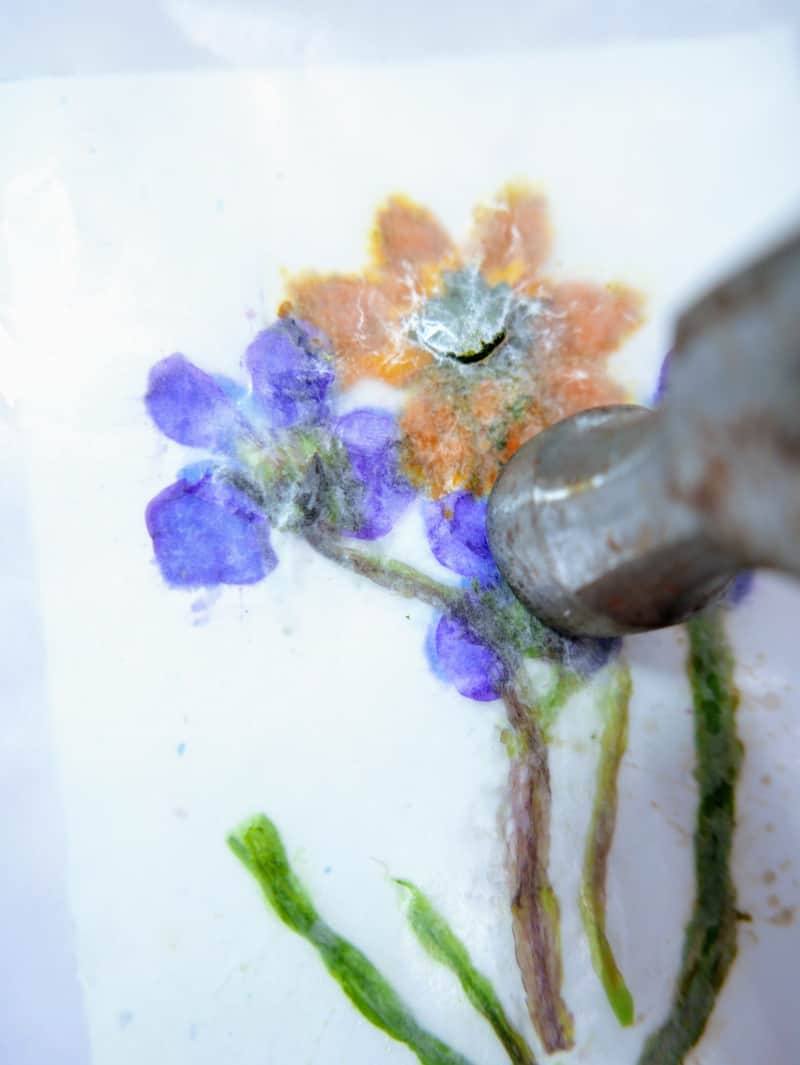
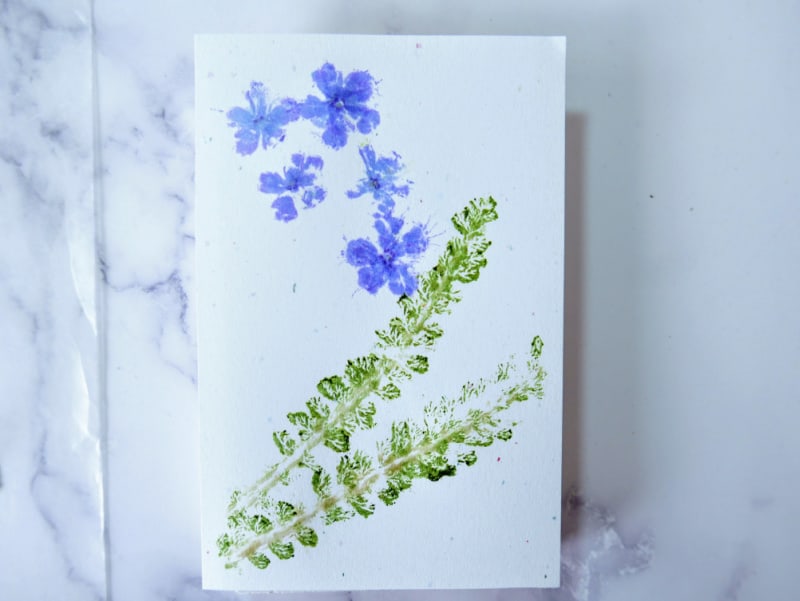
- Once you have picked the flower head that left your desired color on the scrap paper, place them on your 4×6 cardstock, cover them with wax paper, and lightly hammer them. Make sure to go around each edge of the flowers or greenery to get the best impression.
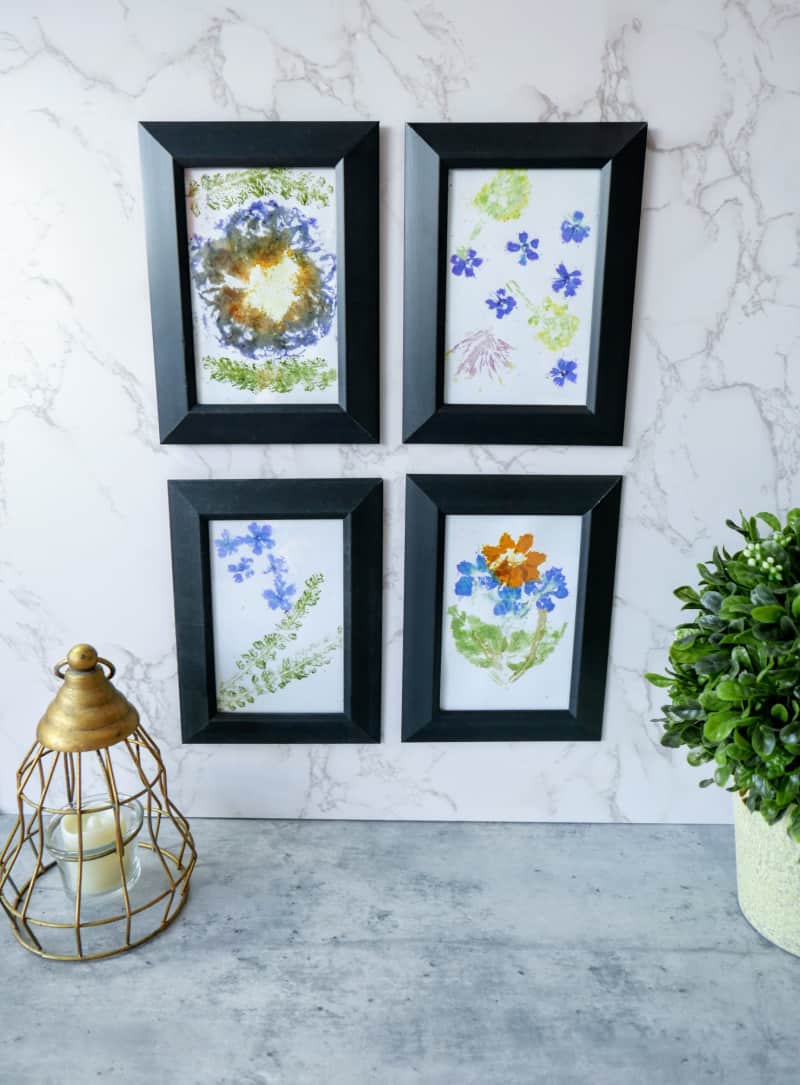
- Remove the wax paper, scrape or brush away any excess left behind, and let it dry for about 2-3 minutes. Once dry, place your hammered flower art in the frames.
Tips for flower pounding with kids
This nature craft is great for spending time outdoors with your kids. Here are a few tips for flower pounding with kids:
- Wear old clothes as the flower dye can stain clothing.
- If you’re doing this nature craft with younger children, supervise them as they use the hammer.
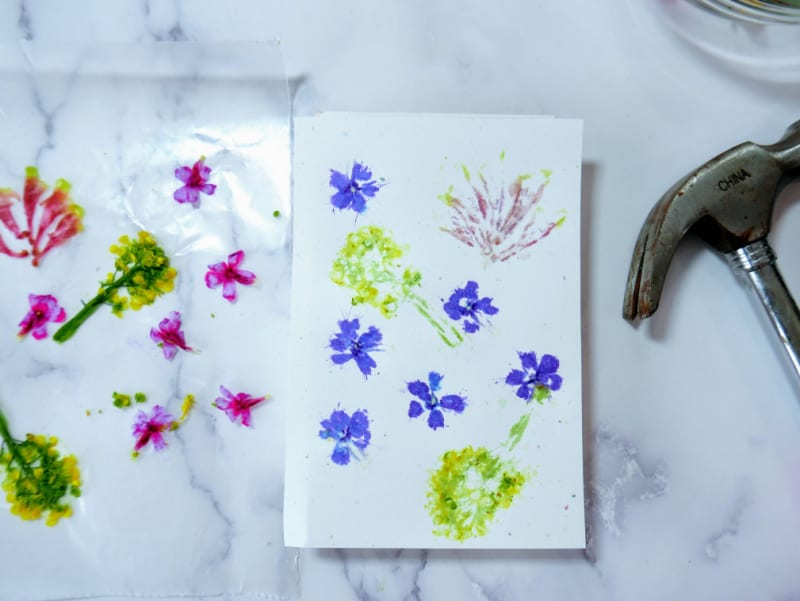
- Use a variety of colorful flowers to create unique flower prints.
- Try using different types of paper, like watercolor paper, to create different effects.
- Let the kids get creative and experiment with different types of flowers and greenery.
- Let them explore nature as they walk through the garden. Teach them to be careful picking flowers.
If you are doing this flower-pounding craft with older kids, teach them about pigment and the color wheel. Discuss the different parts of the flower, such as the stem and the petals.
You can use many ideas to turn this into an educational project. Arrange them by color, size, or type.
Flower pounding notes
This DIY is so versatile. You can make them into wall art, decorate a gift bag, or turn them into a greeting card by folding a larger piece of cardstock in half.
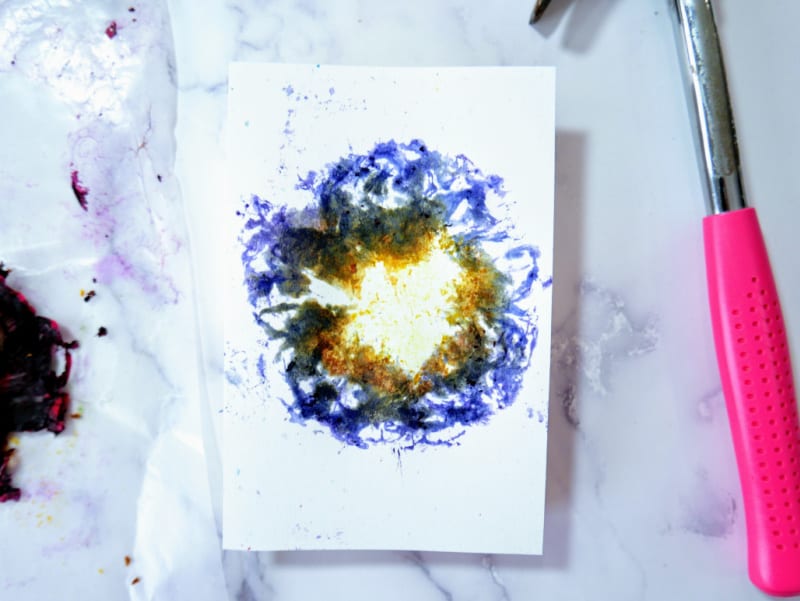
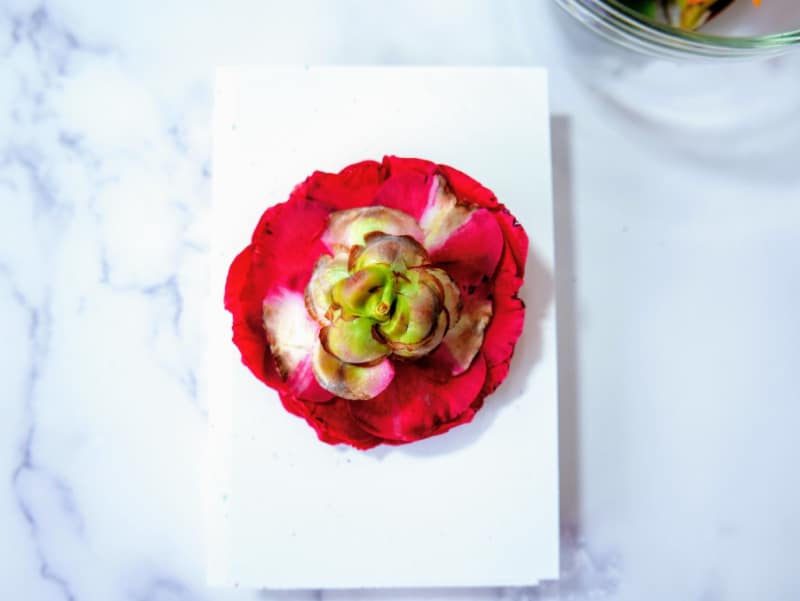
This is a fun experiment for kids, as the color of the flower petals doesn’t always equal the color they turn on the paper. For example, the red camellia flower turned a dark bluish-purple on paper. Kids can predict what color they think it will be and test their hypotheses to learn each flower’s pigment.
Make sure to use fresh flowers right after you pick them. It is much harder to get a good impression if they begin to wilt slightly as the petals of the blossom stick together.
Use scissors to clip any excess pieces that would make it hard to press the paper flush against the flowers.
Make sure you use a hard surface that won’t damage by hammering flowers. If you have scrap lumber or a cutting board, those will work well.
I hope you take the time to walk through the garden and enjoy the flowers this summer. Then, create this flower print using flower pounding and grab a few flowers from the garden.
- Painted flower pots
- Flowers painted on rocks
- Crafts with Borax
- Painted rocks ideas
- Art toys for 6 year olds
- Best card games for seniors
Hammered Flower Art

Hammered flower art is a fun way to press fresh flowers with the kids. Let them have fun with flower pounding today.
Materials
- Various flowers and greenery
- Scissors
- White cardstock, cut into (4) 4x6 pieces
- Scrap wood
- Hammer
- Wax paper
- (4) 4x6 photo frames
Tools
- hammer
Instructions
- Gather multiple flowers in varying colors and sizes, as well as leaves, grasses, and other soft greenery. Leaves that are waxy and hard won’t leave an impression. Yarrow and ferns make great greenery impressions.
- Start with a scrap piece of paper, and place the paper on top of the scrap piece of wood. Place some flowers onto the paper, with the face down, and then cover with wax paper. Holding the wax paper in place, begin hammering each flower and piece of grass or greenery lightly. Slowly remove the wax paper. The flowers will mostly stick to the wax paper, but if any pieces remain, just gently scrape or brush them away. Doing a test on scrap paper will show you which flowers and greenery leave an impression. There were several flowers that I tested that were vibrant and I thought would leave a perfect impression, and I was shocked when they left little to no color at all.
- Once you have picked the flowers that left your desired color on the scrap paper, place them on your 4x6 cardstock, cover with wax paper, and lightly hammer them. Make sure to go around each edge of the flower or greenery to get the best impression on your paper.
- Remove the wax paper, scrape or brush away any excess left on your paper, and let it dry for about 2-3 minutes. Once dry, place in your hammered flower art in the frames.

Welcome to In Our Spare Time, your go-to source for family-friendly fun. Discover honest reviews, entertaining articles, and fresh ideas for making the most of your free time with younger kids. From games, movies, and books to family activities and seasonal adventures, we help parents find simple ways to create memorable moments together.
One thought on “Hammered Flower Art”